Setup and Installation
Setup and Installation
How to install Python
Install Python on your Mac or Windows machine. If you’re using a guest or limited account, make sure you have access to admin credentials for installing new software on the computer. This is especially important for students using a school computer or parent computer with limited access. If you’re on a Mac computer, you may need to modify the security settings in system preferences in order to download software.
(Last Edited 10/30/23): The latest version of Python (3.12) has an issue with a library that manages packages in virtual environments. Please use Python 3.11 when following along with this tutorial.
Click here to go to the Python website to install v3.11. Follow along with the instructions in the video below. Regardless of the Python version shown in the video, the instructions will still apply.
How to install Pycharm
Next, install PyCharm Community (free) edition , which is what we’ll use for writing out our Python code and running it on CoDrone Mini.
If you choose not to use PyCharm and prefer your own editor or IDE, you will need to know how to install packages on your platform of choice. If you are not sure how to do this, we recommend following the tutorial for PyCharm instead.
Click here to go to the PyCharm download page and follow the instructions in the video below.
How to install CoDrone Mini library
Now you need to create a new project and set it up with the CoDrone Mini library. Follow along with the instructions below. In the tutorial, you will need to copy and paste the import statement into the generated main.py. You do not need to connect your drone yet.
import CoDrone_mini
# running this code will show an error in the console if CoDrone Mini library was not installed properly
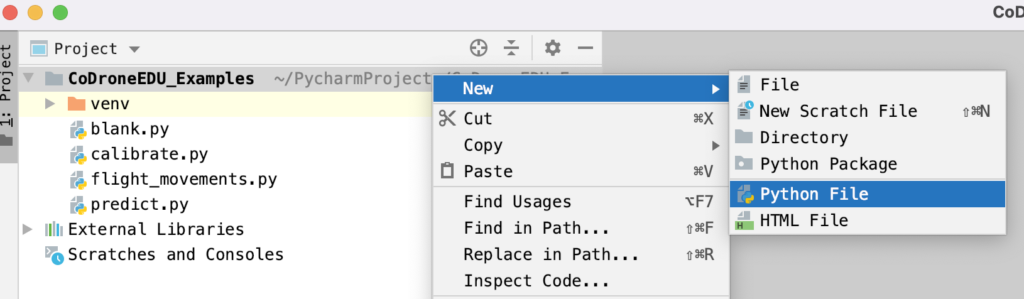
If a main.py file was not generated, you can make a new one by right clicking on the project name and selecting “New > Python File”. This is for both Windows and Mac.
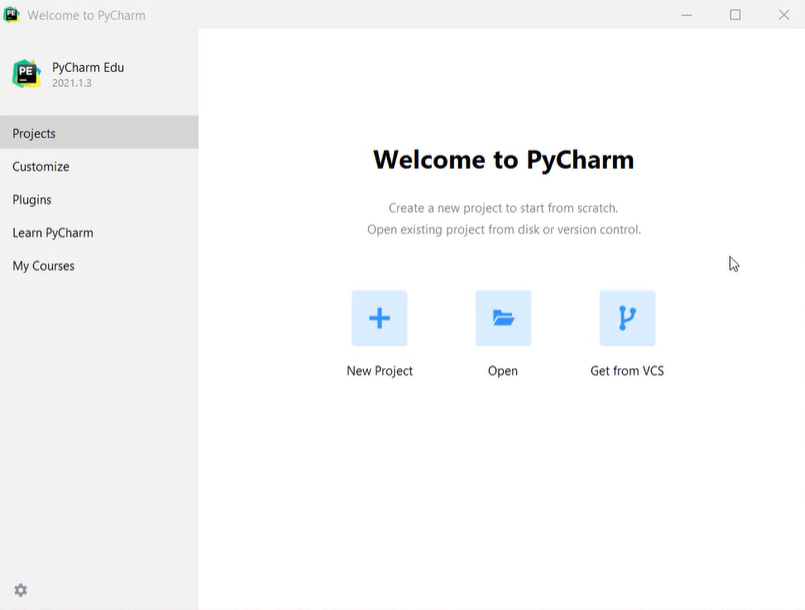
- After opening PyCharm, click on "New Project" to create Python project
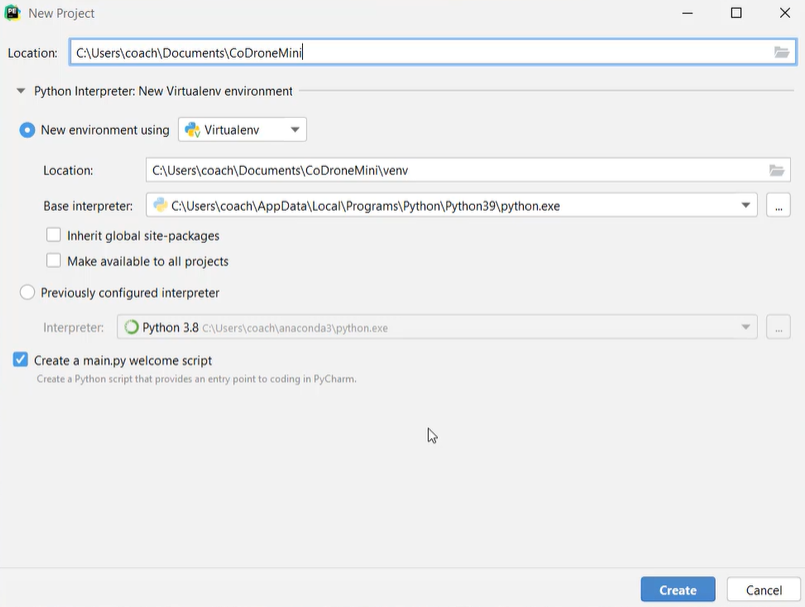
- Type after the last " \ " in "Location" to give your project a name (for example, CoDroneMini)
- The Python interpreter should be the version you installed from the "How to Install Python" section of this page or the most recent version of the Python interpreter.
- If it's not the version you installed, click on "Previously configured interpreter"
- Click on the " .. " button to display a list of Python interpreters.
- Finally, select the "System Interpreter" for Python.
- Click "Create" to create project and wait until your project is finished loading up.
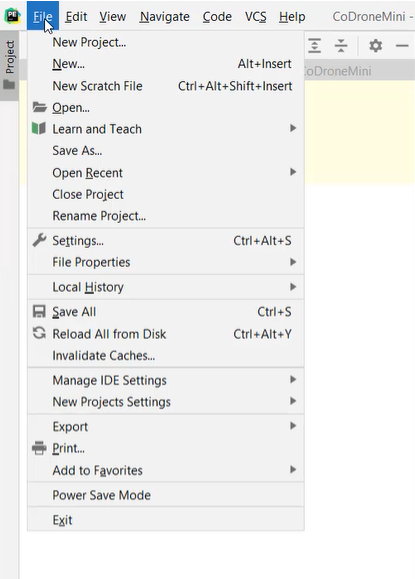
- After your project loads, click on "File > Settings" in the top-right corner of Pycharm window.
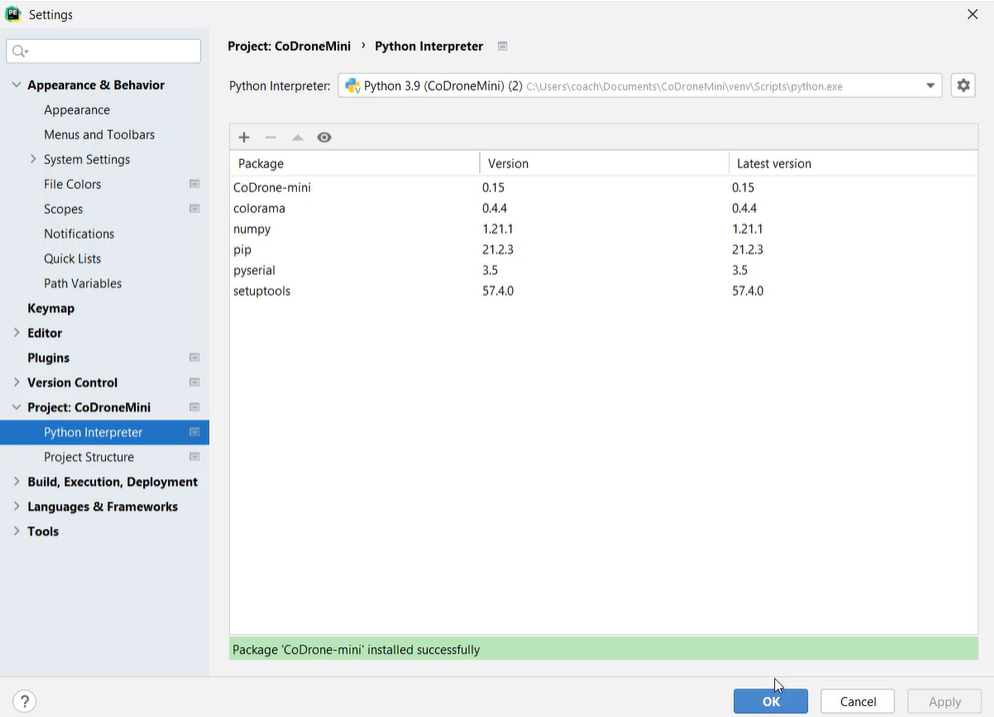
- The Settings window will pop up. Click on "Project: YourProjectName > Python Interpreter" (YourProjectName is just the name of your project). Click on the " + " button, which is next to the " - " button and above the word "Package". Clicking the " + " will open a window with a list of Python packages to install.
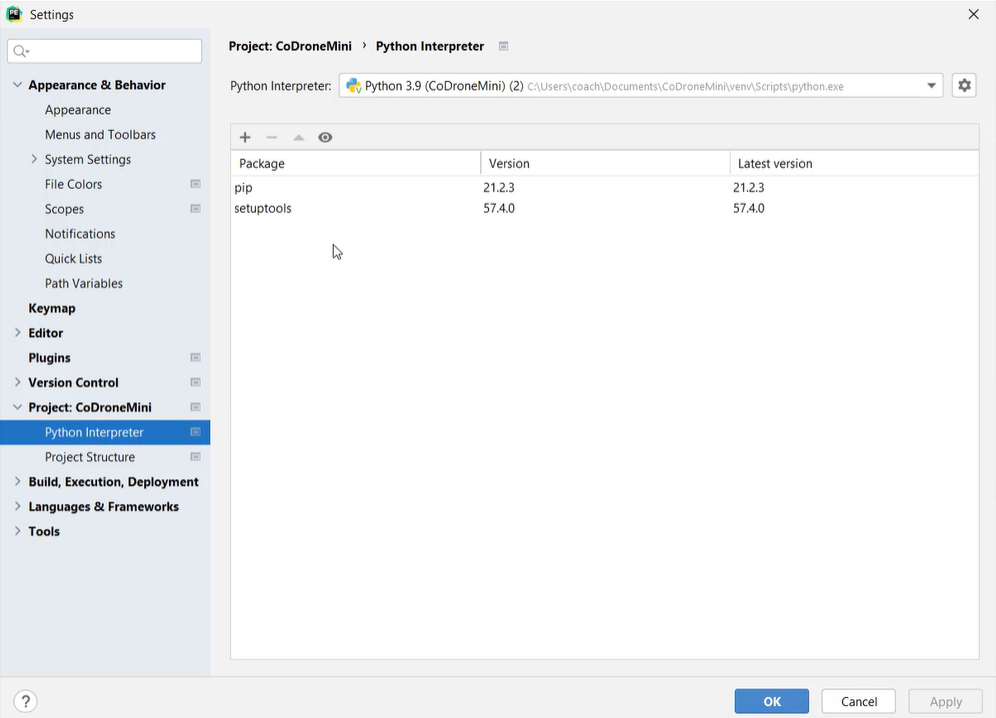
- In the search bar, type "CoDrone" to give you a list of packages containing the name "CoDrone". Click on "CoDrone-mini" (Do NOT select "CoDrone"). Finally, select "Install Package" to install the "CoDrone-mini" package.

- It can take a while to load, but once it's finished installing, it will tell you "Package 'CoDrone-mini' installed successfully". Exit out this window and click "OK" in the Settings window.