Programming Mat
Getting Started with the Programming Mat
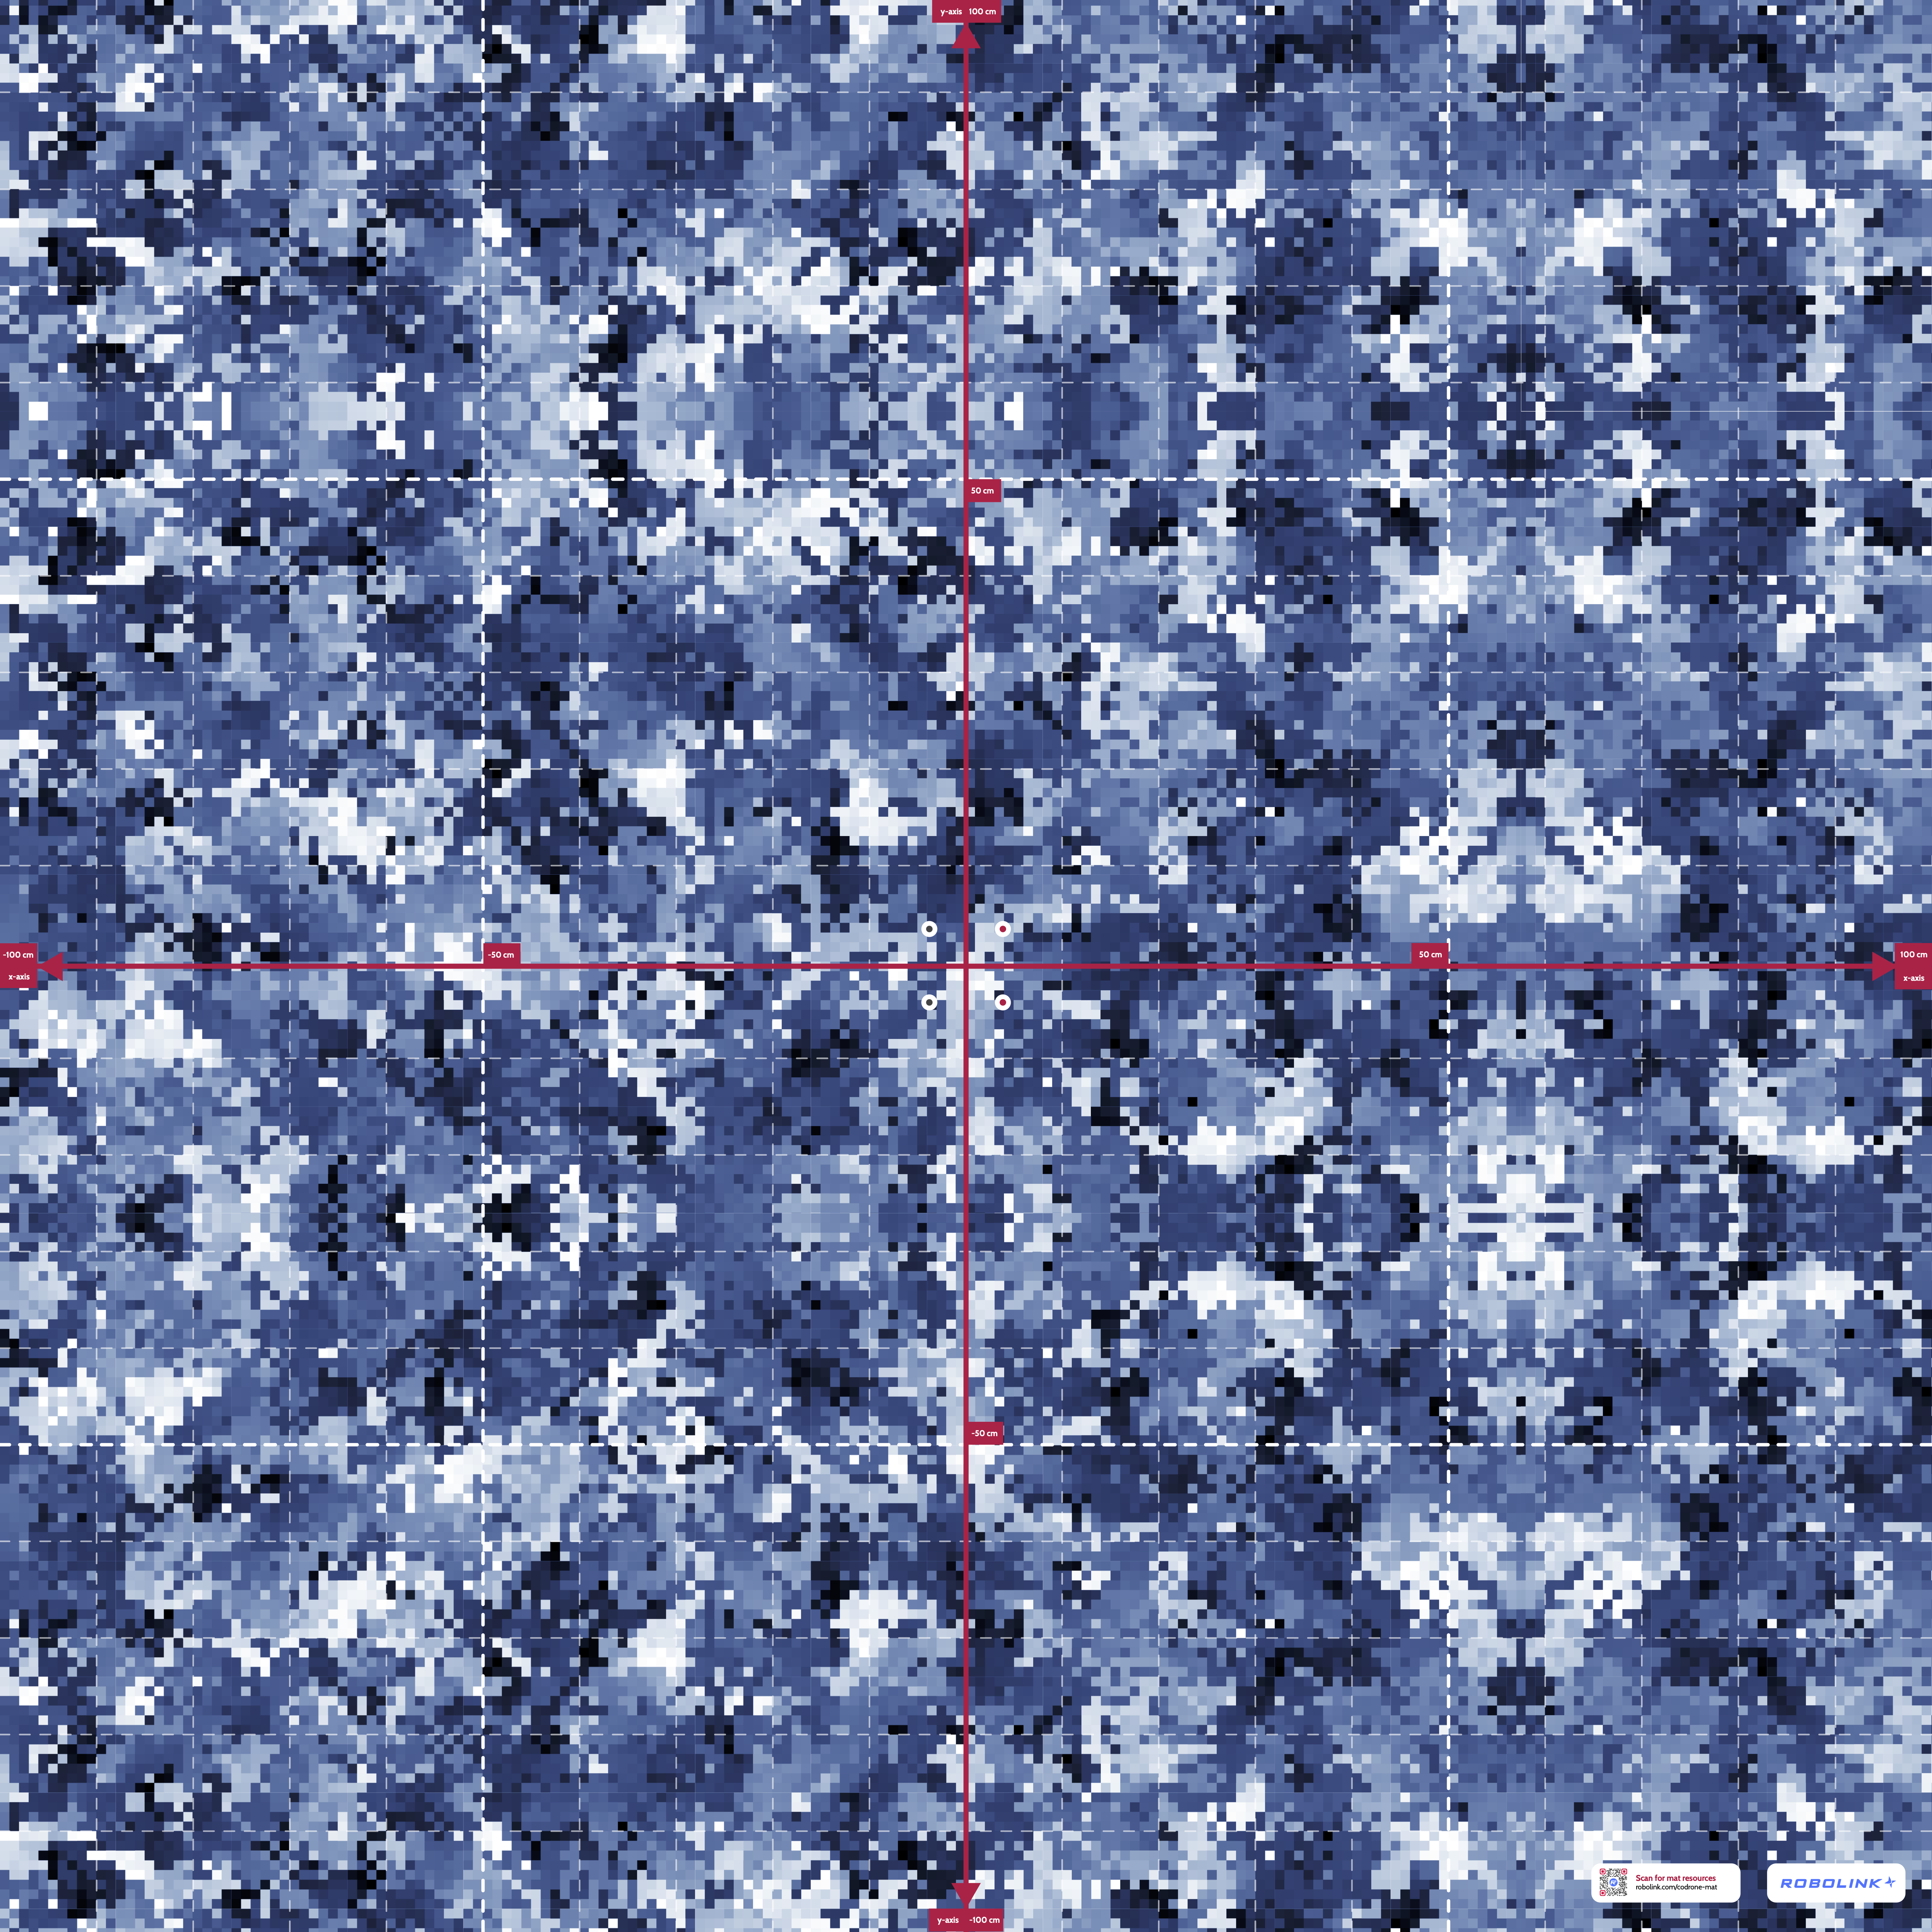
The CoDrone EDU Programming Mat is designed to improve the performance of your drone's sensors during flight. It is 2 meters x 2 meters with markings to indicate 50 centimeters and 100 centimeters on the axes. Each tiny pixel is 1 centimeter long. The design on the mat helps the optical flow sensor track patterns on the ground to understand the drone's motion and maintain a more stable position and altitude.
Whether you are flying with the remote or coding your own missions, the mat may help with:
- Hovering stability
- Flying in straight lines
- Distance detection
Do I need the mat?
The mat is an optional tool that helps create a consistent surface for flying, no matter what kind of floor is in your classroom. While you can complete all of our lessons without it, the mat is helpful for projects that require more accurate sensor readings or flight stability.
The mat also features a built-in coordinate system to let you explore navigation and position-based programming. For example, if you want to use the move_distance() or send_absolute_position() functions, the mat makes it easier to test code and validate your position compared to the sensor data. It's also a great way to connect drone activities to math concepts such as graphing, coordinates, and measuring distance.
Will the mat make my drone fly perfectly each time?
Not exactly, but it will help your drone be more stable. CoDrone EDU was designed to be accessible for classroom learning, so its sensors will not be as precise as those on drones used in industry. However, you can still explore control systems and autonomous flight algorithms. More lessons on position sensing will be available soon on Robolink Learn. Stay tuned!
Where do I get a programming mat?
You can purchase a Robolink programming mat here!
Using the Programming Mat
If you're not using the coordinate grid on the mat, you can place your drone anywhere for general flying. It helps to place your drone where the majority of the flight path can be over the mat.
If you're using the mat as a navigation tool or for position-based activities, it's important to start your drone right in the center of the grid. That's because as soon as the drone takes off, it sets its starting point as (0, 0) on the coordinate plane.
There are four dots in the center of the mat. Two of them are red to match with your drone's front propellers. Line up the drone's motor bumpers with the dots, matching the red-propeller motors to the red dots. If you've swapped your propeller colors, just make sure the front motors align with the red dots. The front of the drone is indicated by the front range sensor or the action button.
Understanding the Drone's Coordinate System
For now, let's only think of the drone moving in two dimensions. Think back to your 2-dimensional coordinate plane. There are two axes that form the plane, and we typically divide it into four quadrants.
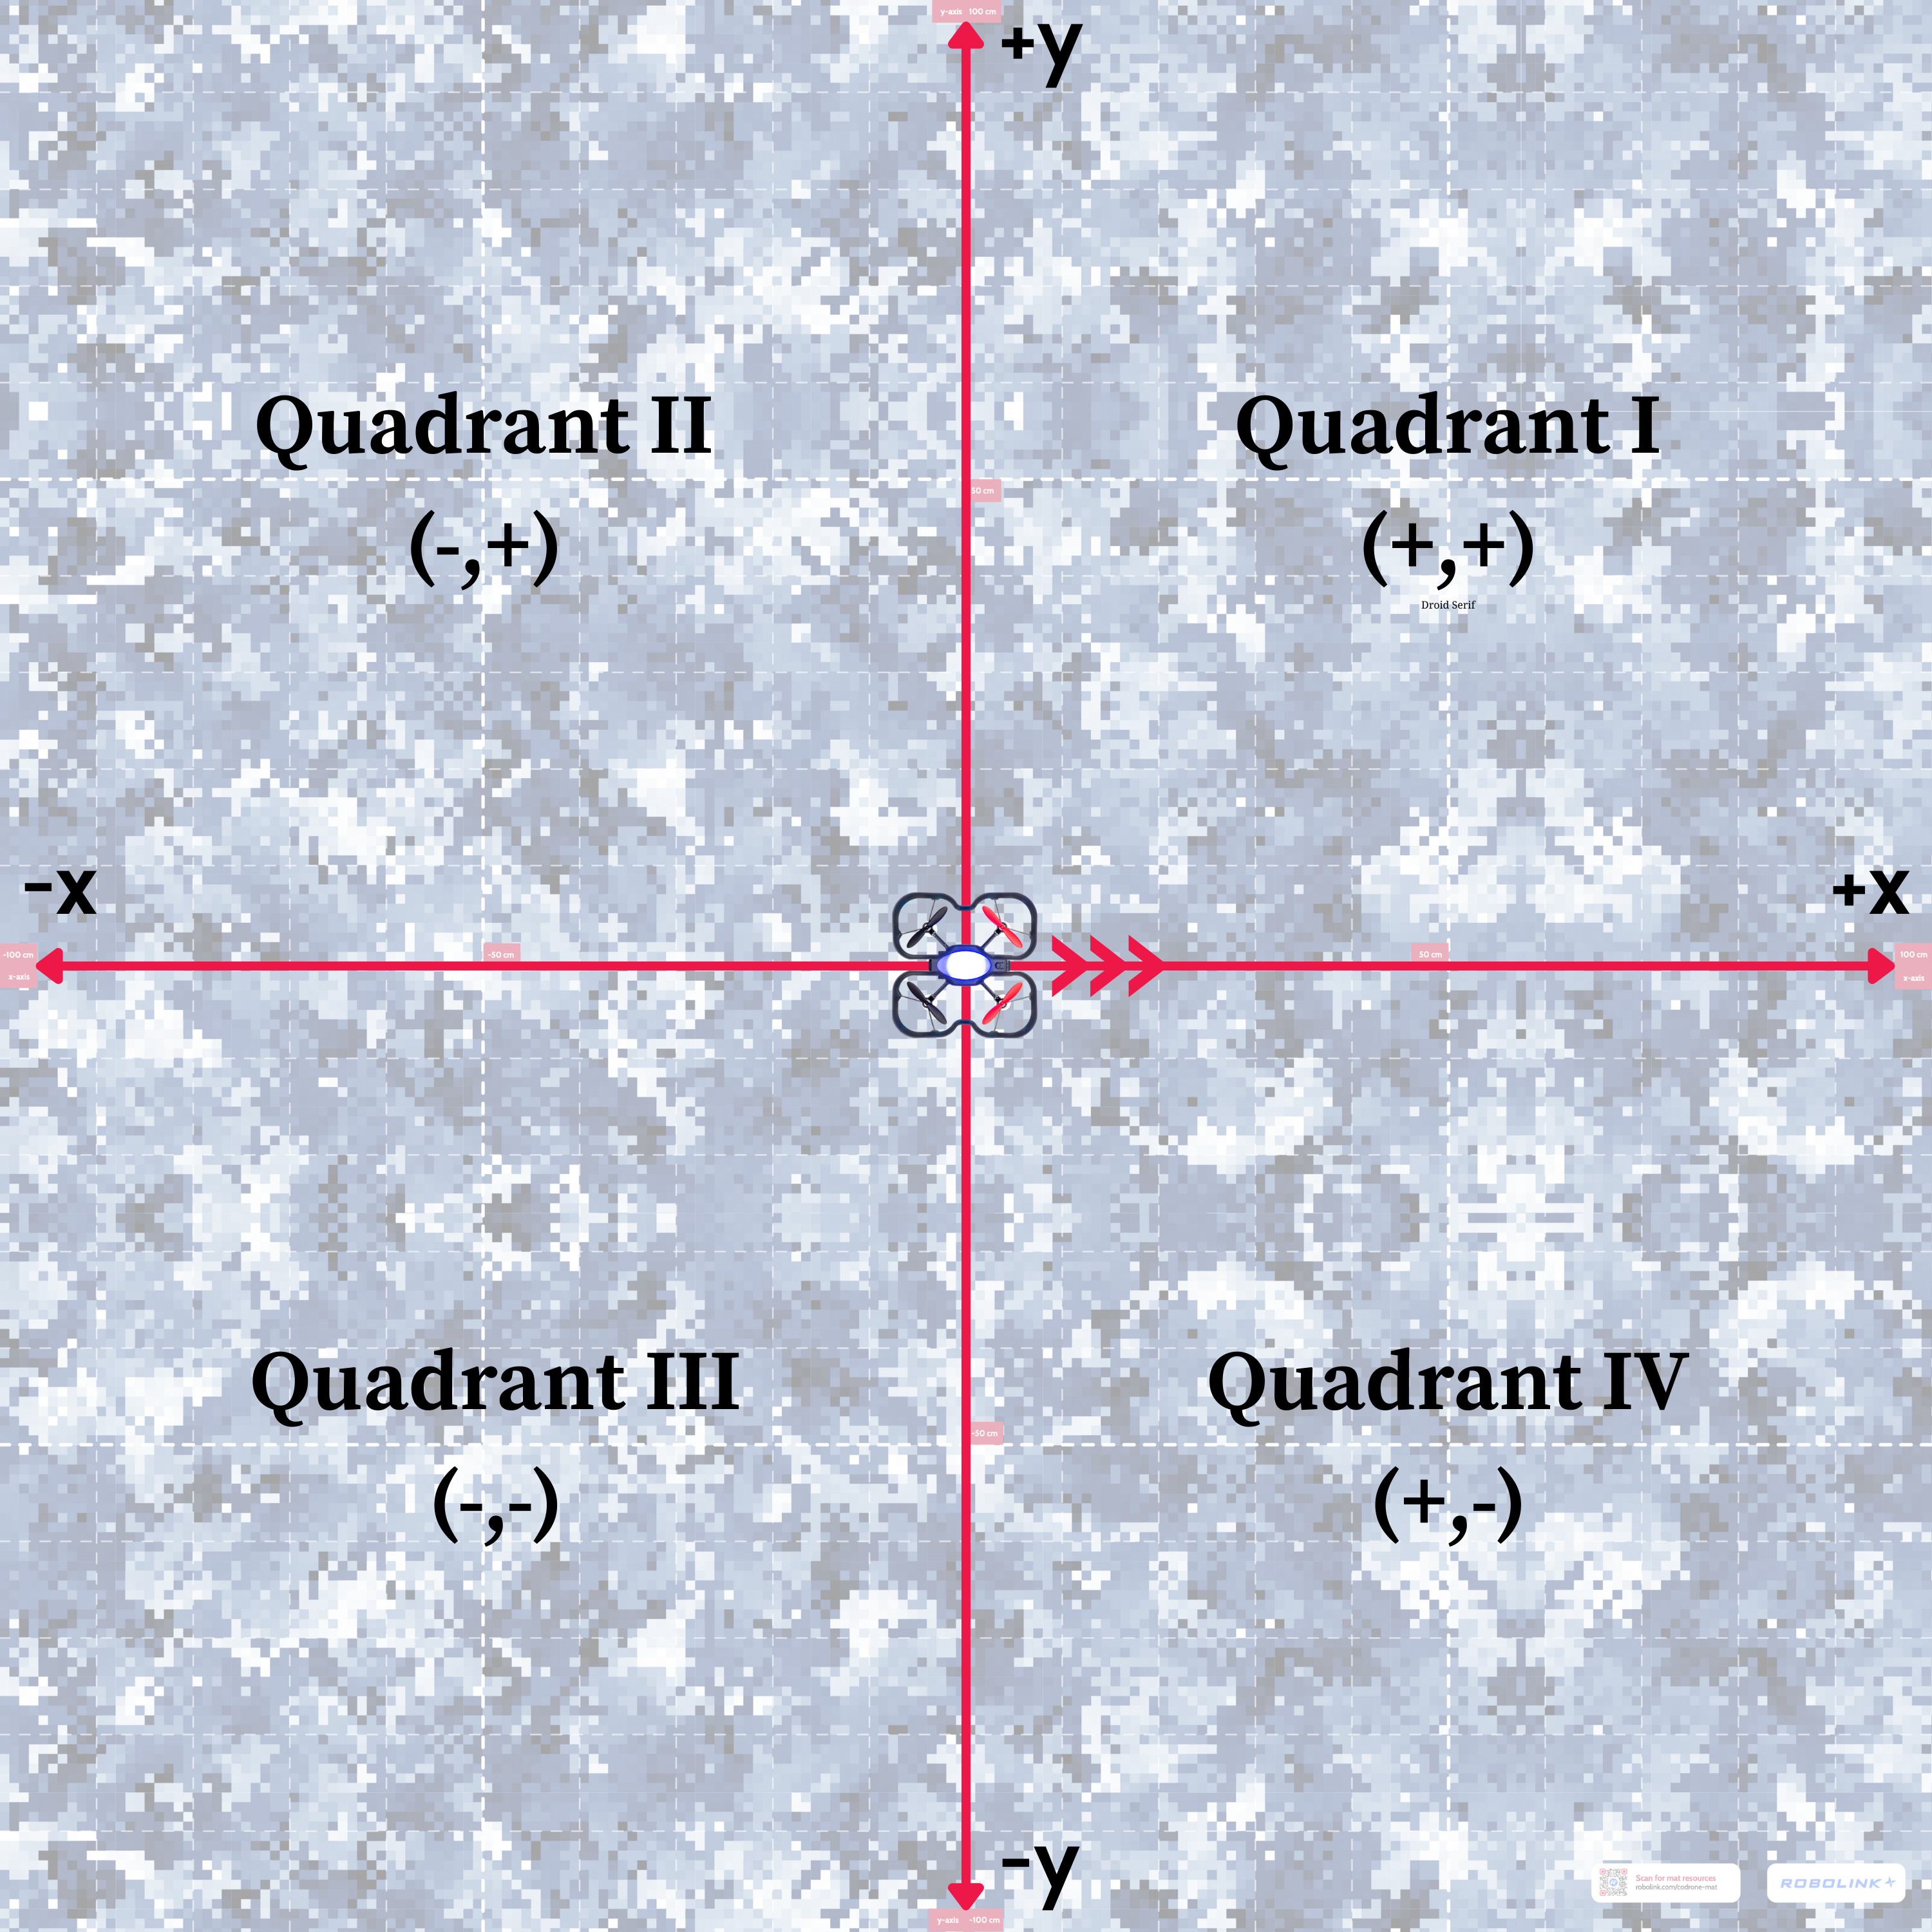
The drone's coordinate system initializes with the drone facing the positive x-axis. In other words, when you pitch forward, the drone moves in the positive x direction. When moving left and right, the signs will be opposite. If you roll left with a negative value, the drone moves along the y-axis in the positive direction.
Example: Which quadrant am I in?
Use the "Open in Python" feature inside of Blockly to see any of the following examples in Python.
Write some code so that your drone takes off, moves forward for 1 second at 40% power, and lands. Look at your sensor dashboard after landing. You will see a positive x-value and some small variation in the y-axis.
Reset the drone to the starting position. This time, add a command to move left after moving forward. Run it again and then open your sensor dashboard.
Since the drone moved forward and to the left, the drone has tracked a positive x and positive y coordinate. This means it's now in the first quadrant. You can also combine the forward and left movements to go to each quadrant. See the example below where the move block sends a negative roll and positive pitch.
Add the rest of the conditional statements to check for each quadrant. If you need some help, we have a lesson on conditionals!
Resetting the Drone's Coordinate System
The drone's internal coordinate system resets to (0, 0) every time you insert the battery, and again each time you take off. If you try to read or print sensor data while walking the drone to its takeoff location, it may be inaccurate.
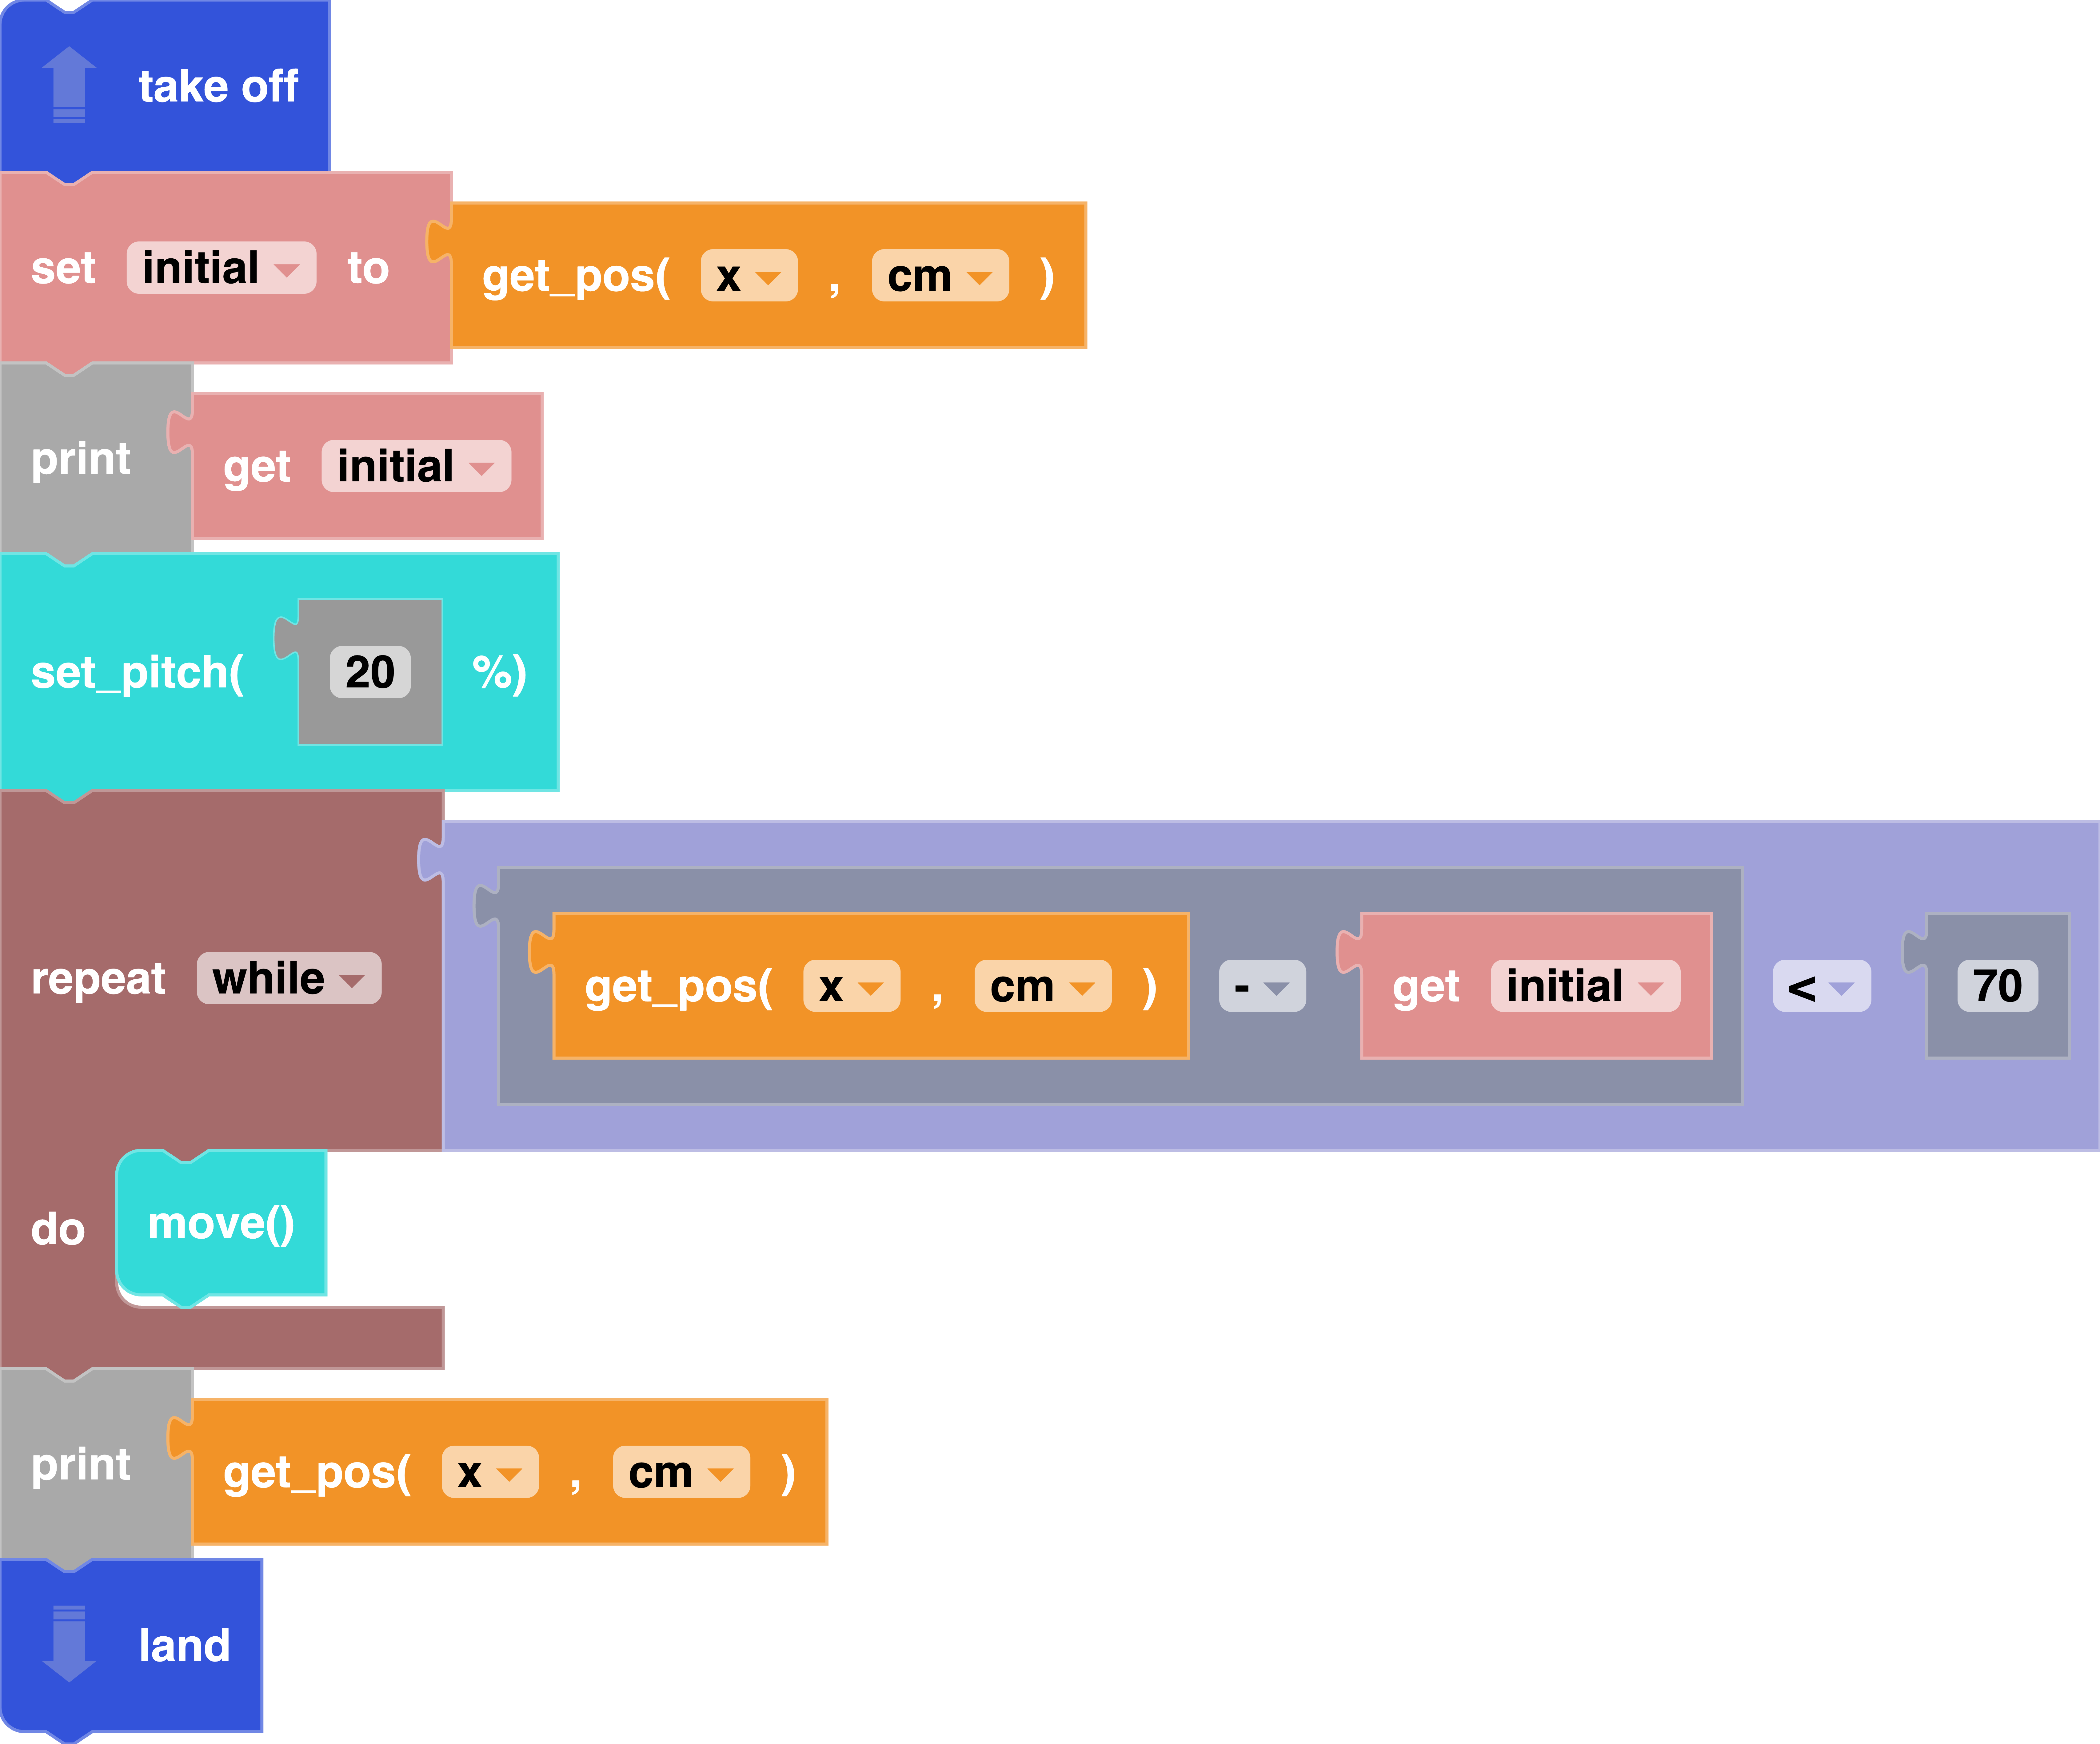
Example: Checking Position
When you're starting out with CoDrone EDU, you will typically use time-based commands like the ones we showed above. For example: "Fly to the left for 3 seconds at 40% speed." You can combine flight movements with sensor data from the optical flow sensor to check if you've arrived at a certain position. Check out this example to see how you can use a loop and a conditional to compare your current x-position and desired x-position.
Note: Even with the mat, the optical flow sensor is not always perfect! Make sure your drone frame, motors, and propellers are in good working condition to get the best results.